Okay, so I recently got an e-mail about this ‘shelf’ in the background of one of my photos and I decided to go ahead and do a full post on it. When John & I moved to Tulsa in June, we had all of the furniture for our bedroom & guest bedroom but we had zero furniture/decor for our dining room, living room, & my office. When we started shopping around for furniture we were discouraged at how quickly it all adds up! We decided that we will take things slowly & just get what we thought were essentials which included a couch & a desk!
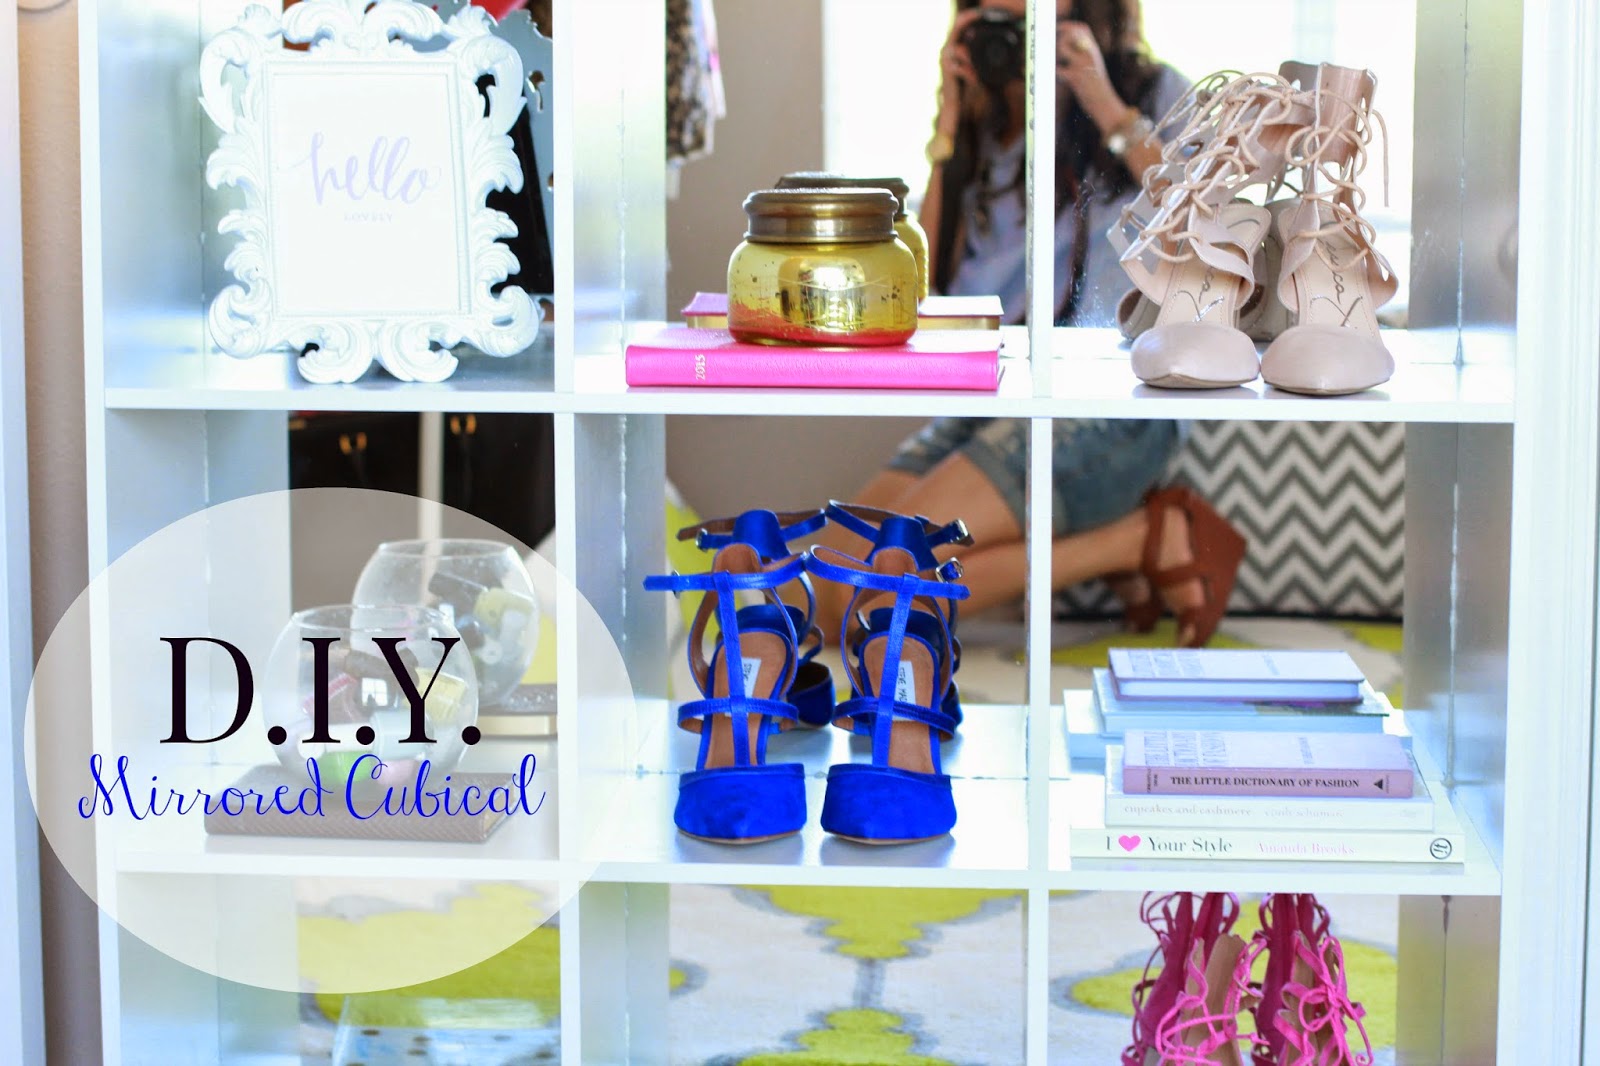
Anyway, my office area looked pretty sad with just a desk but I didn’t want to spend a lot of money on other furniture so I browsed the internet & found this tutorial on how to make a DIY mirrored cubical. I liked how she used two 9 cube-cubicles but my office area is not large enough for two. Personally, I loathe DIY projects because they NEVER turn out for me, ever. But I felt like it looked simple enough so I went for it, and I enjoyed seeing it come together. I didn’t have much to lose because the project only cost $60 total. I am really happy with how it turned out considering it took very little time & is a nice place to store things here & there.
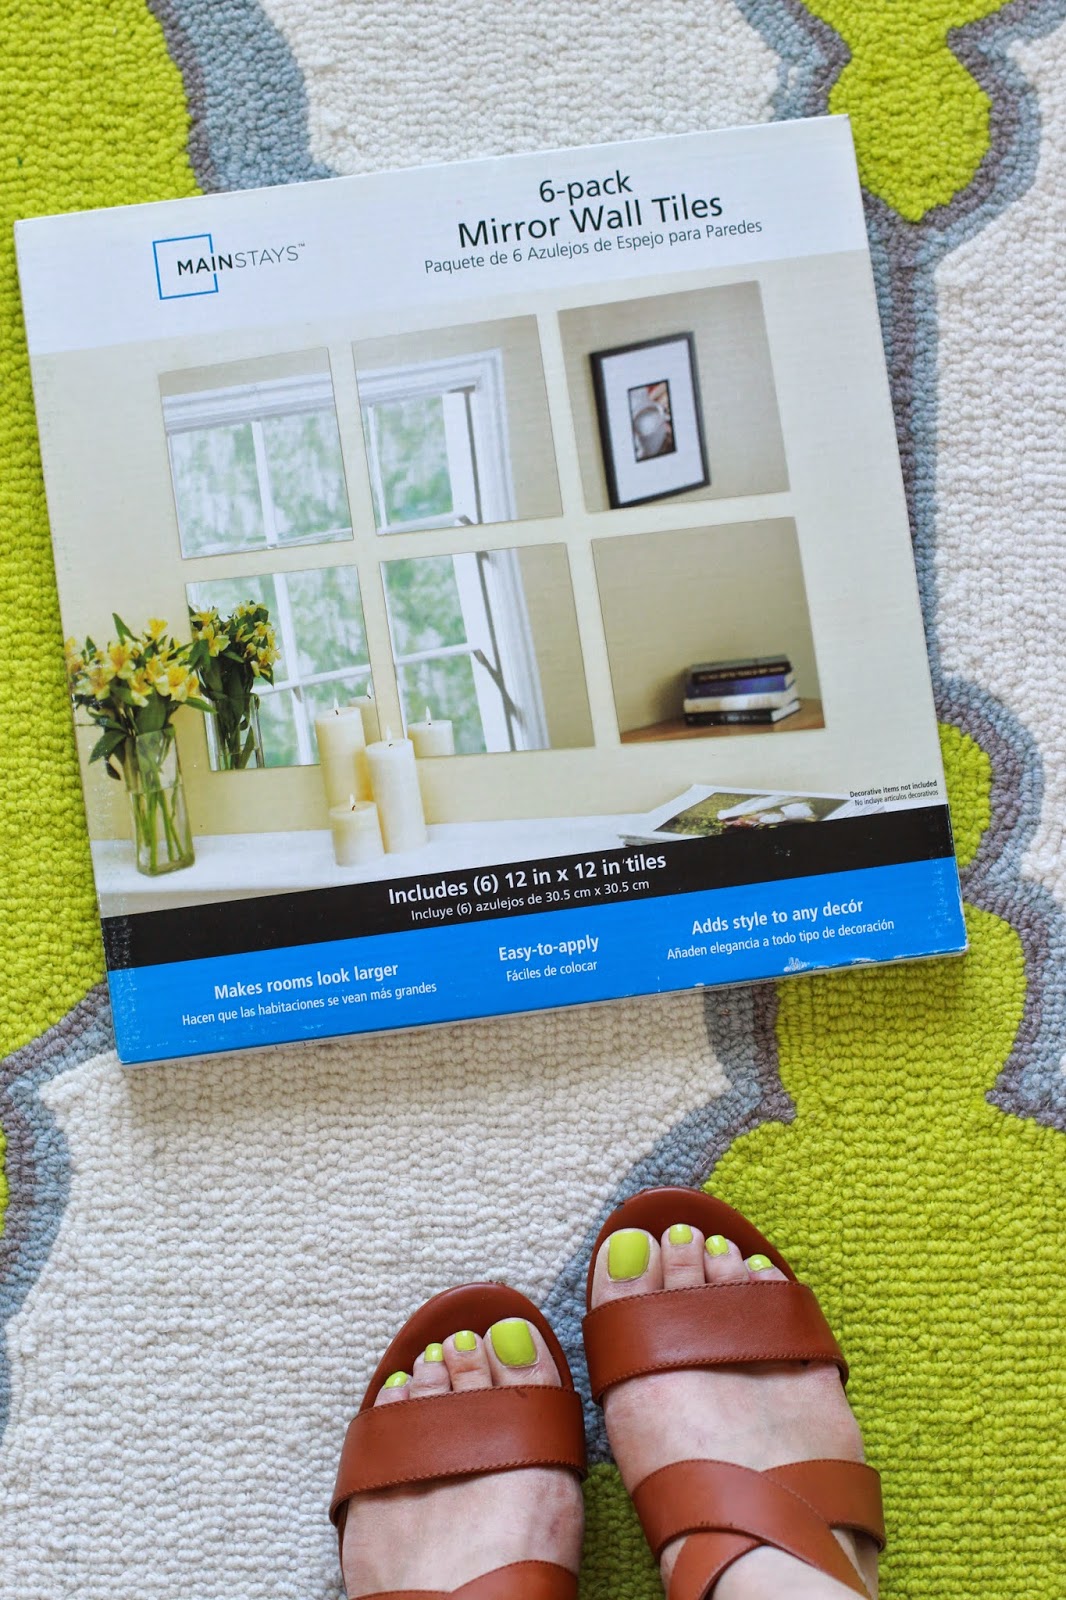
Here’s what you need:
9 Cube Shelf ($39) or 6 Cube Shelf ($35)
Gorilla Glue ($5)
Heavy Books (John kindly donated his old medical school books to the project!)
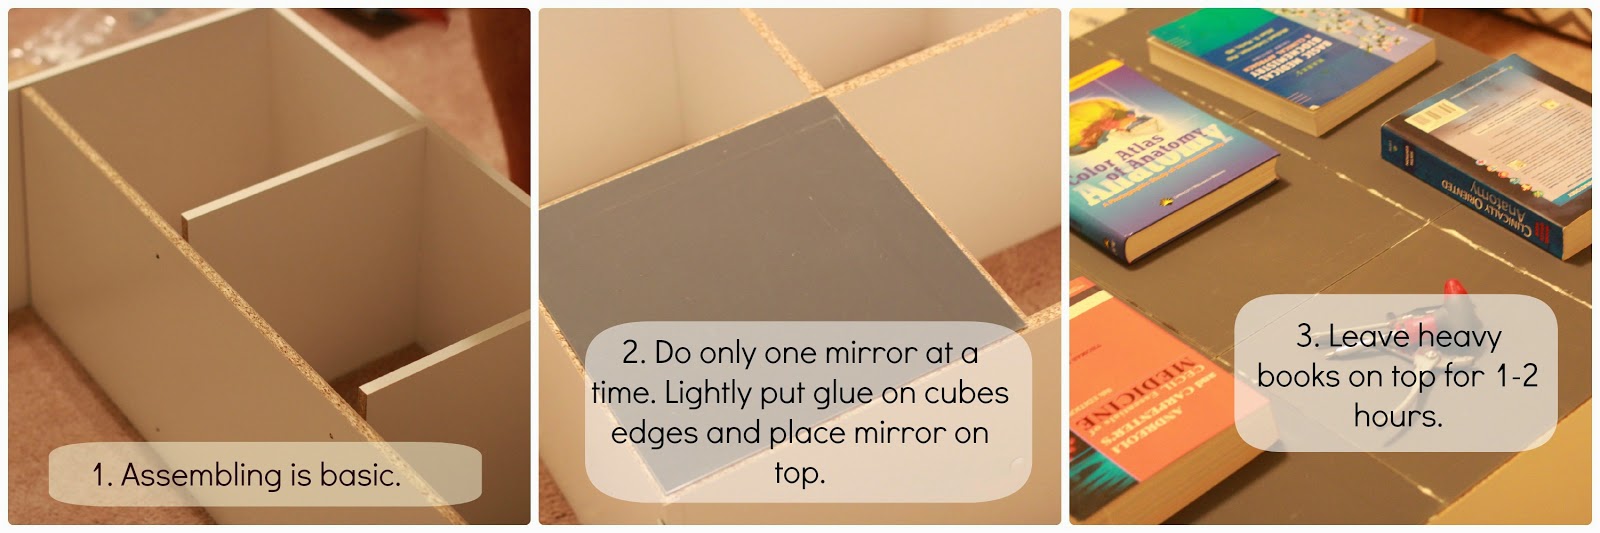
John assembled it for me and it didn’t take but maybe 20 minutes?!
I did one mirror at a time – they fit perfectly onto the back of each cube. The Gorilla Glue comes out clear – which is deceiving because when it dries it ‘swells’ up and turns white. I recommend going in with very little glue – and barely putting it around the edges. As soon as you’ve ‘traced’ the edges of the cube, gently lay down the mirror and if it needs to be adjusted… do it asap (mine all laid down just fine.) As soon as the one mirror is down, put a heavy book on top, but do it gently, so that you won’t move the mirror.
You’ll know when it is dry because you’ll see the white, puffy glue coming out in the cracks (which means I used too much glue!) I want to say I let them sit for 2 hours and then it was good-to-go! PS. I still haven’t scraped off the dried glue, but supposedly its easy to get off!
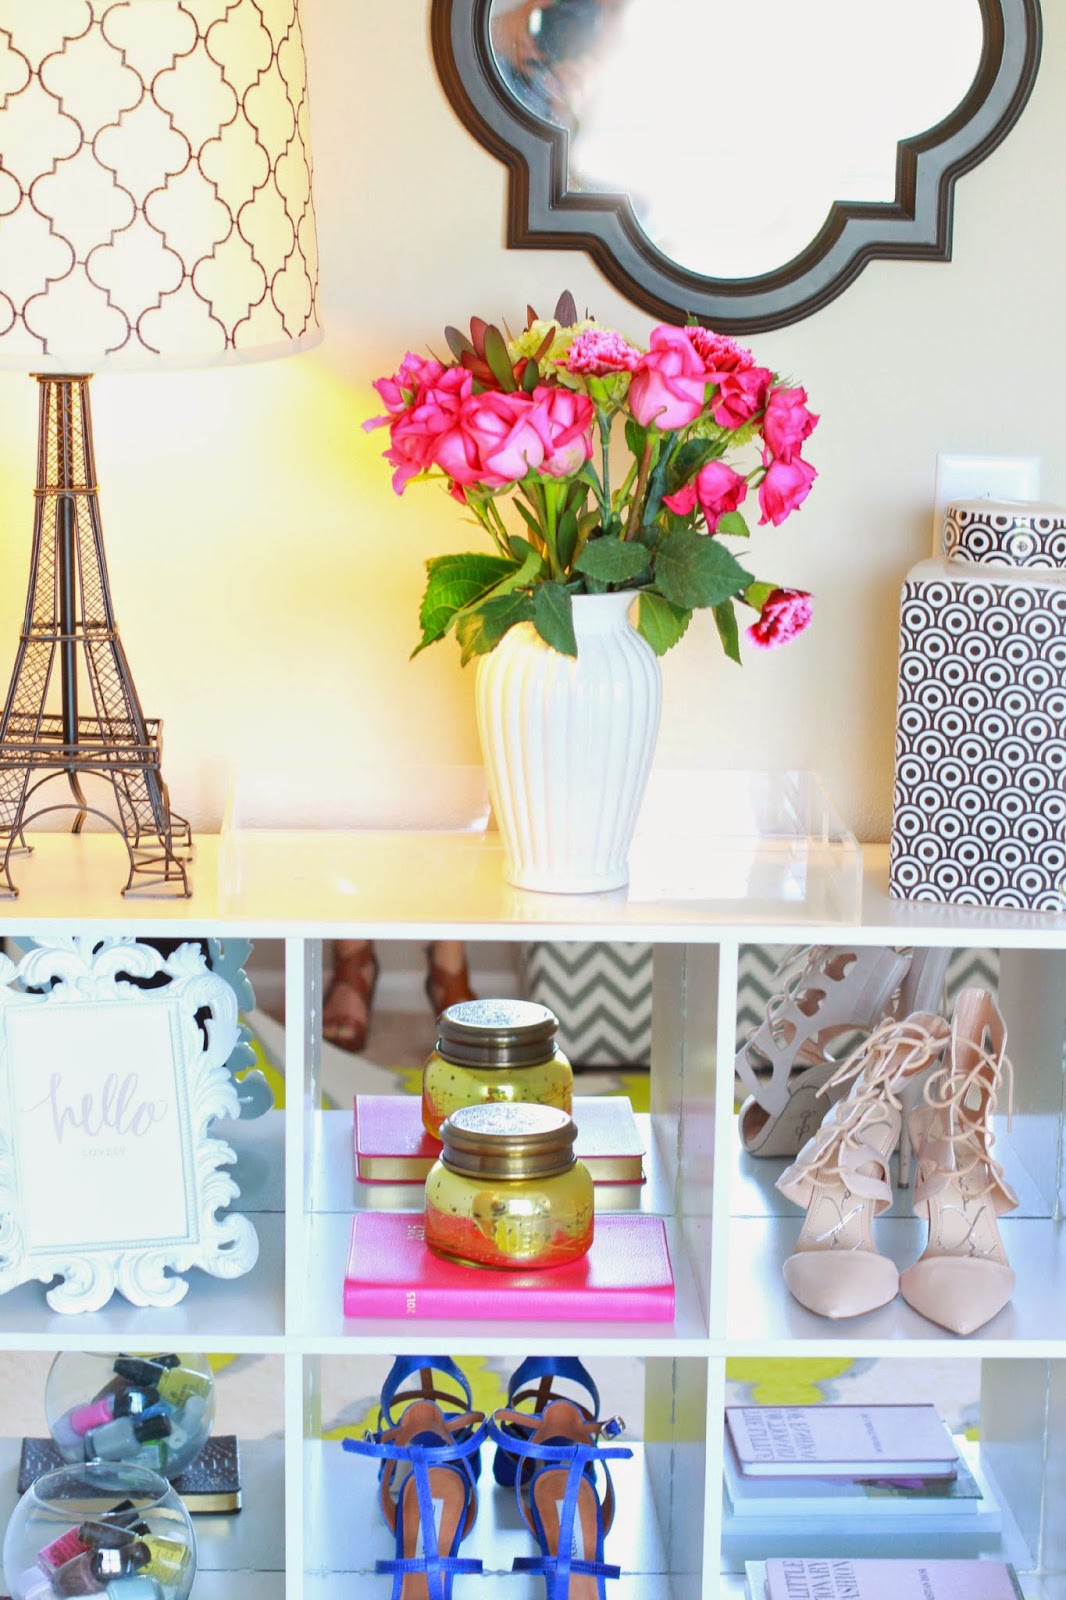
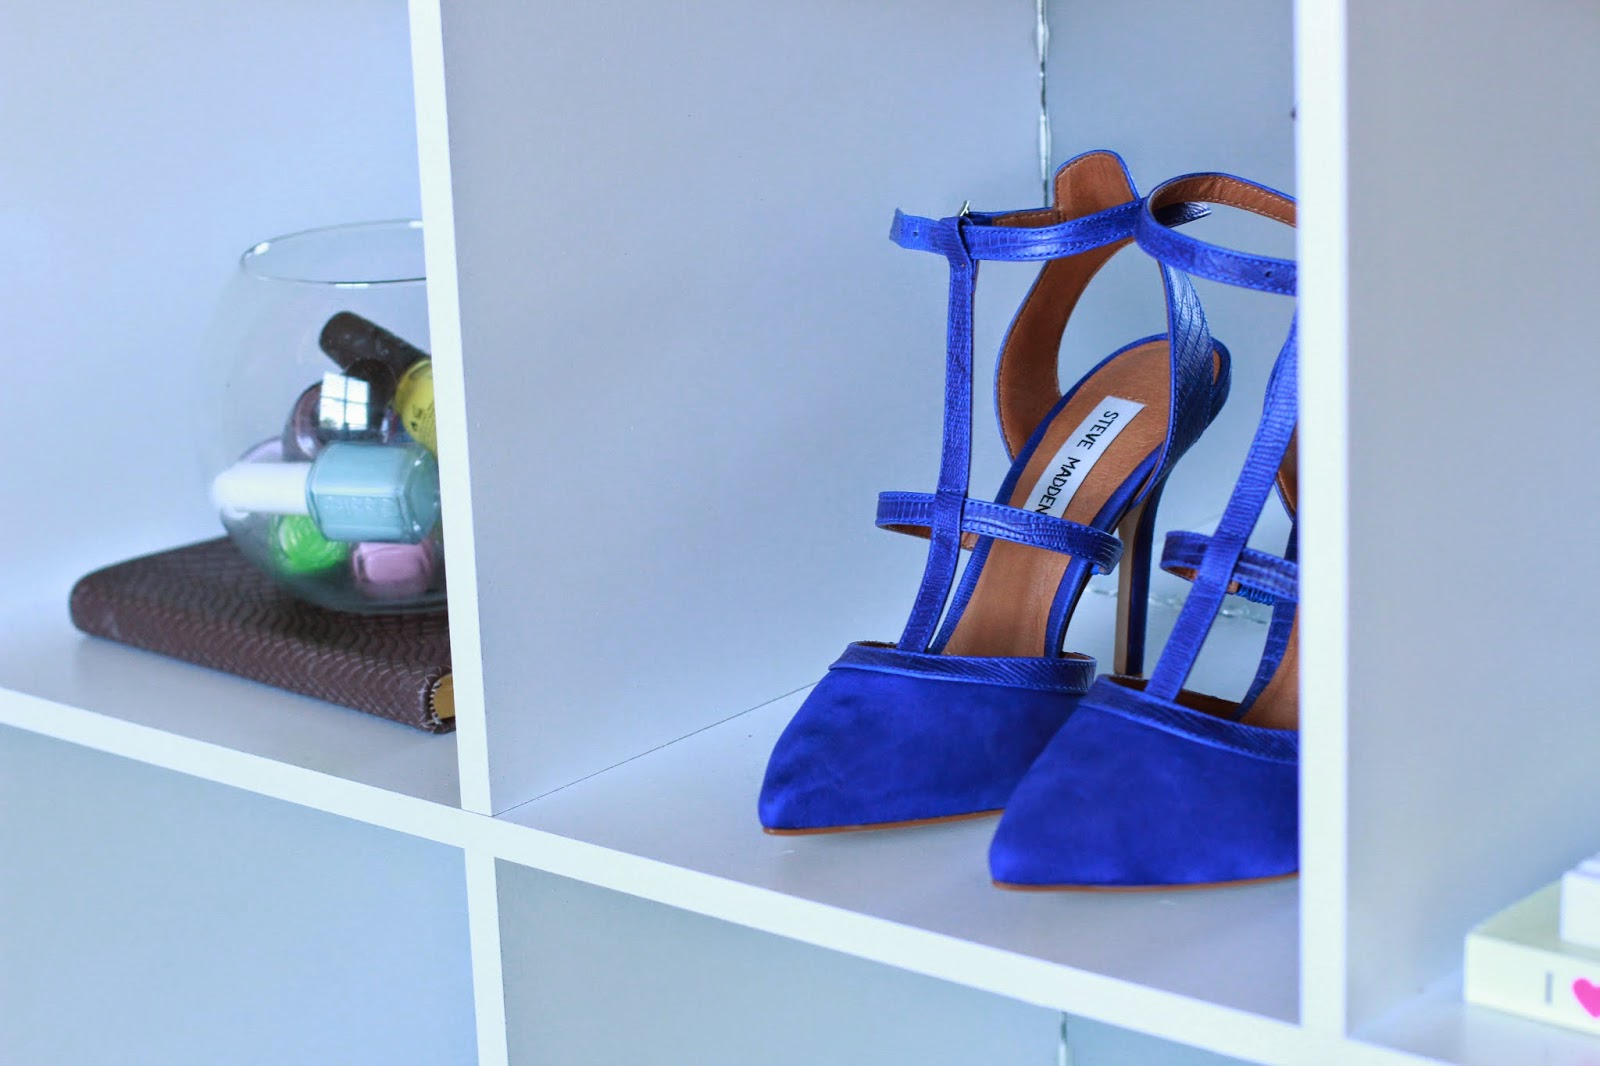
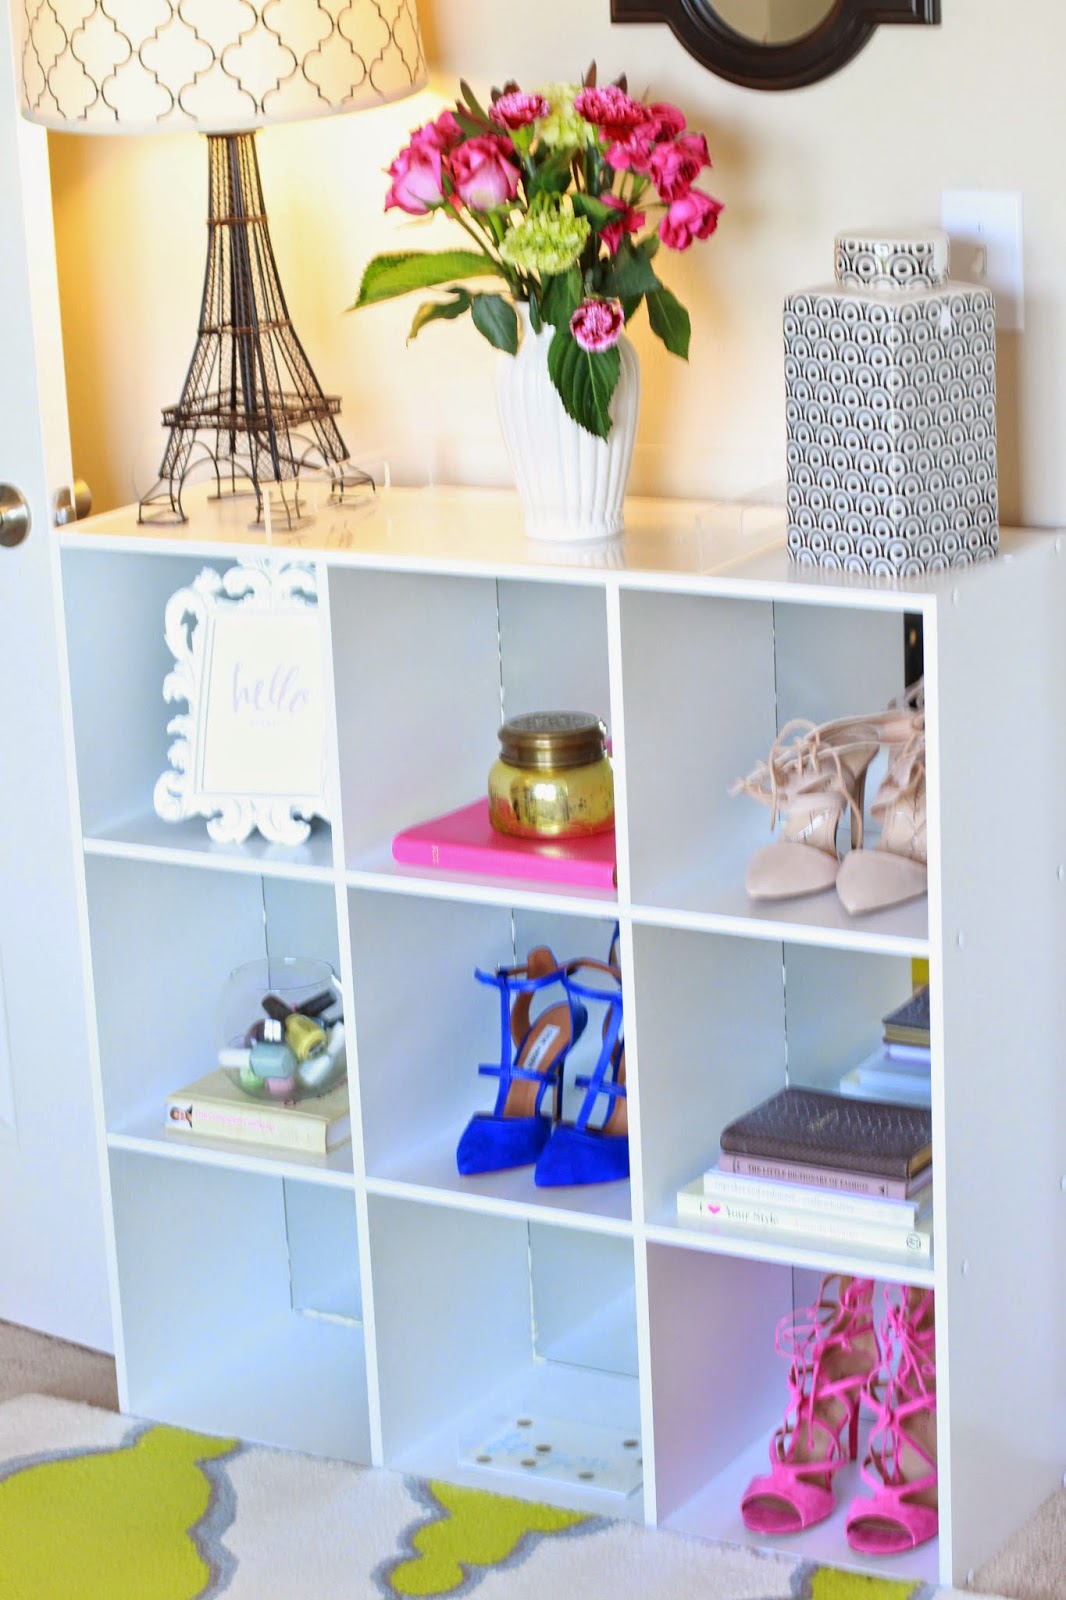
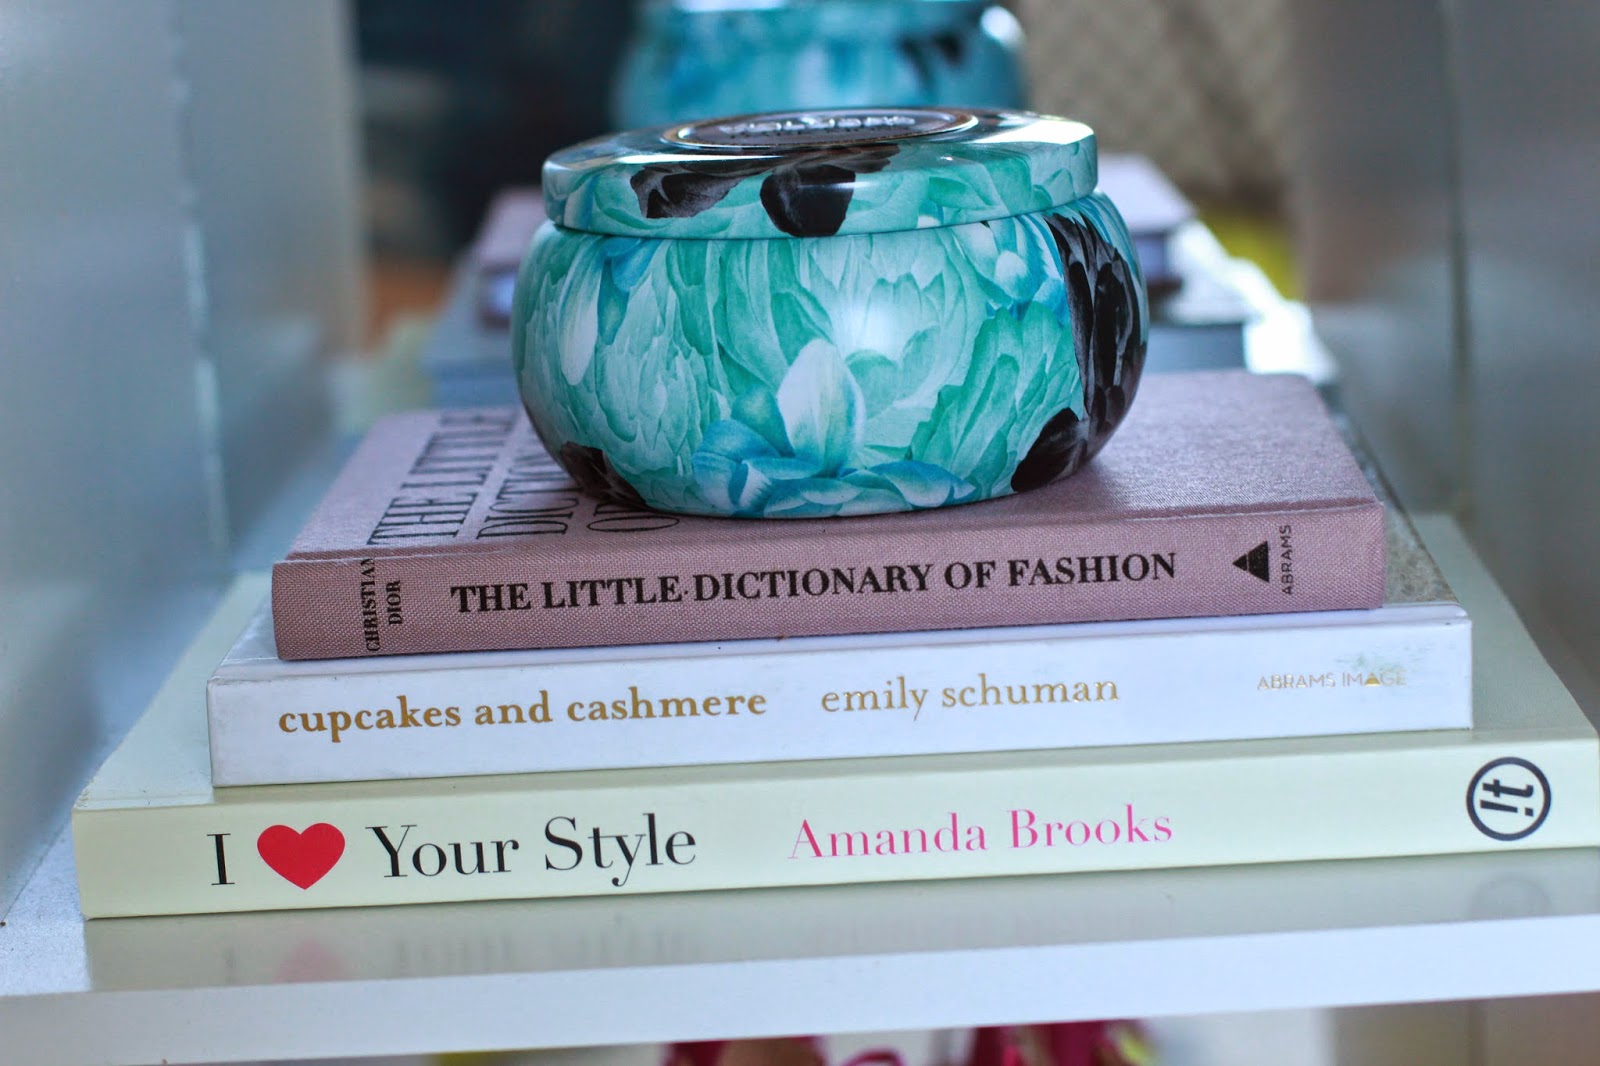
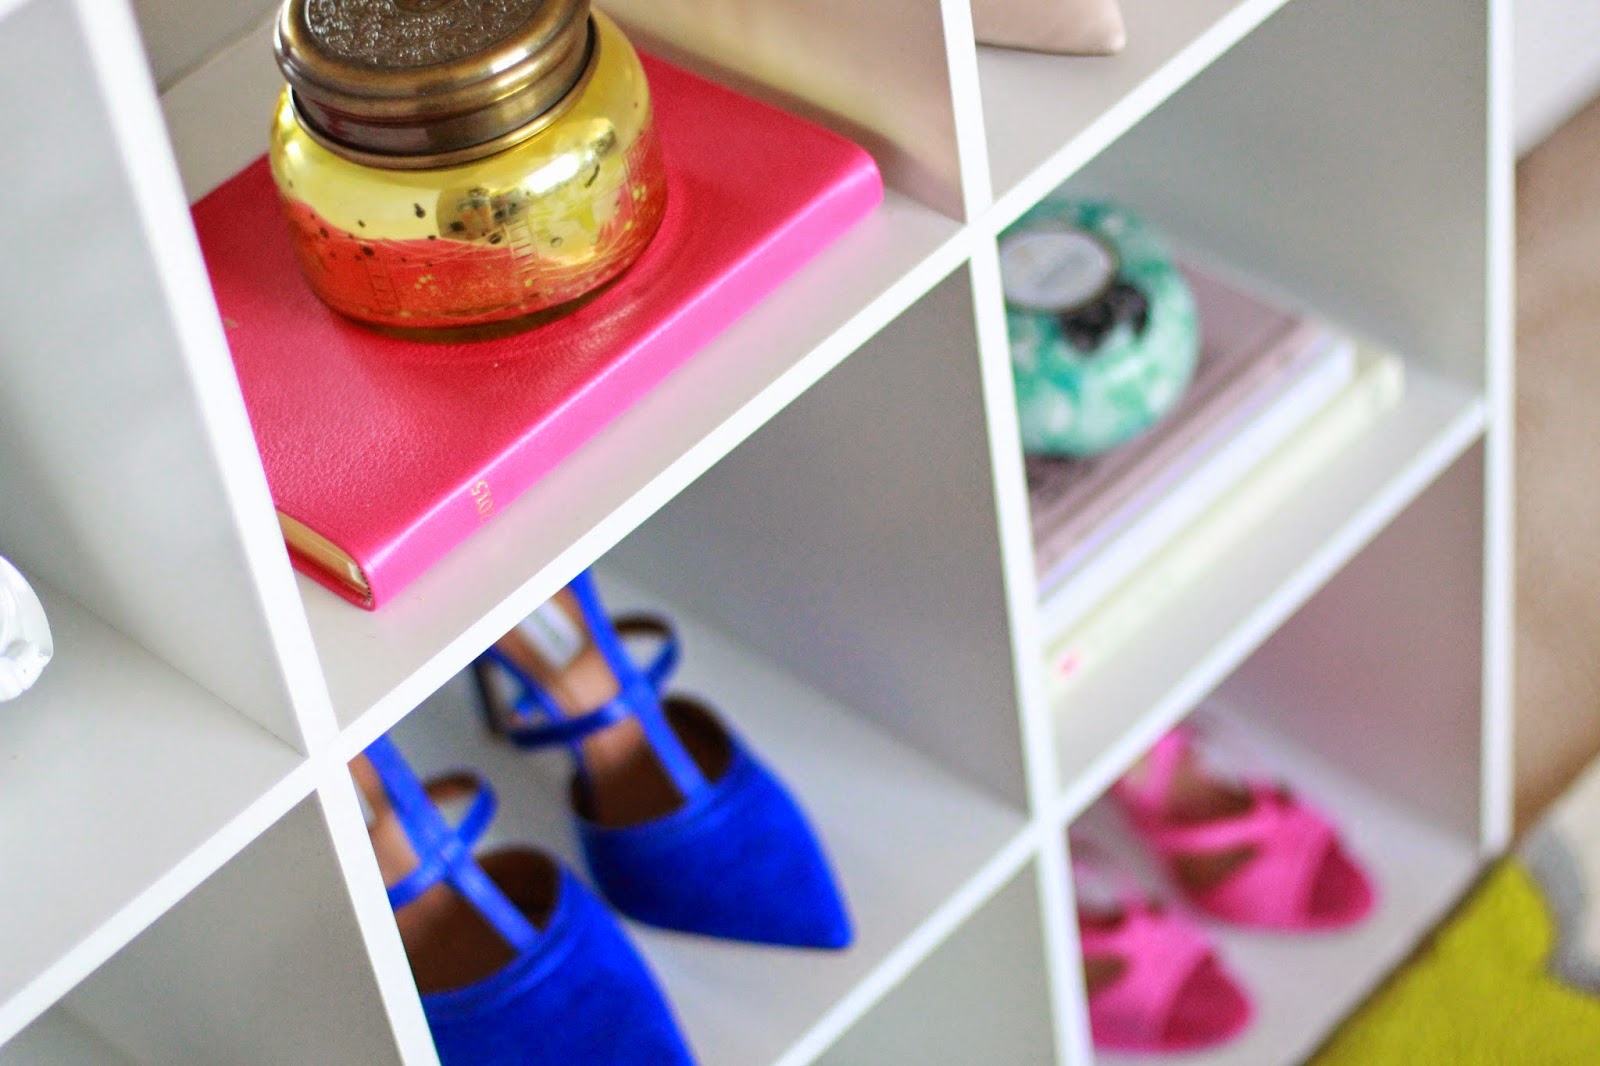
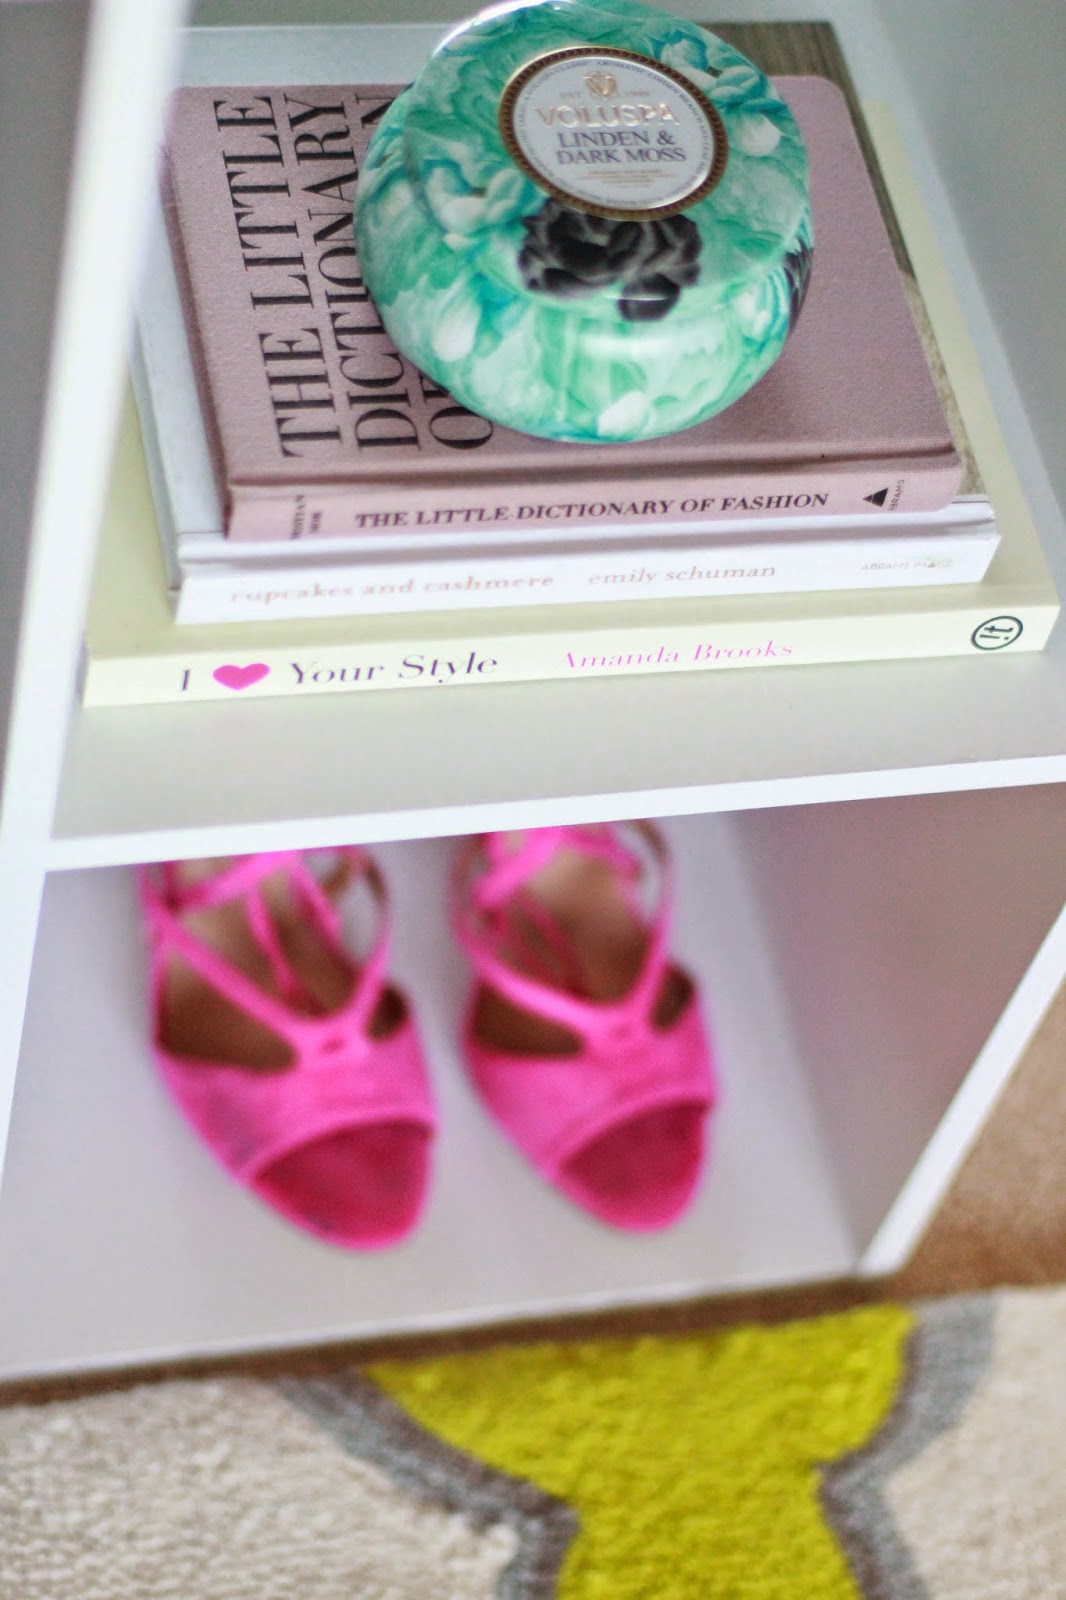
My Nordstrom Anniversary Sale Voluspa candles were delivered while I was taking these photos so I threw one in- they smell SO good! And, the blue Steve Madden pumps, too. (They are oddly comfortable.)
Rug is here.
Pink Datebook is here. (It’s for 2015)
Gold candle is here.
Here are some fun things that are on my wish list… (and my outfit below that.)


Love this! Very creative and great finished product.
http://www.forthefabulux.com
LOVE this idea! Especially for a shoe shelf! I bet it really opens up a space by reflecting light back too! Have a great weekend!
The Style Storm
<3, Christina
Wow it looks amazing. Not sure if I were able to make one 🙂
xx Mira
http://www.glamdevils.com
Love this DIY, mostly because it seems so simple!! It gives the room such a great touch. The mirrors really open it!
Xo, Kayla
adarlingdream.blogspot.com
What a fabulous idea!
Xo,
Dallastyleblog.com
Absolutely beautiful! I will have to do this <3
Sweet Madame Blue
Love this DIY! It sounds more doable than some others and it looks great!
xoxo
Lexi
the-streetsofgold.com
That turned out great! I love simple DIY's.
http://www.poshpair.com
XO,
Christina
Love everything! Ordering now! 🙂
Emily this is such a great DIY! It turned out wonderfully! I always hate having those cubed shelf with the backs exposed- I have a few that I want to add wallpaper to the back & may have to add mirrors to one now as well…. love!
Wow, I absolutely love this! Such an easy DIY that looks amazing!
XO, Tori @ Victoria Grace
Love this! Cant wait to try this. Thank you for posting all the deets!
http://www.adashofsophie.com
So cool! thanks for sharing!
XO Janina
http://janinafran.blogspot.ca
Wow! This may be the best DIY post I have seen to date! Everything about this post just screams adorable! I love how the mirrors spruce up the cubicle. I definitely need to get on it and make one for myself! All the accessories like the royal blue heels, nail polish bowl, and clover shaped mirror are just darling. You have such great taste! Thanks for sharing!
Leah
That's such an amazing idea and looks amazing too. So tempted to try it out!
x
aBrunetteGirlinLondon.blogspot.com ♥
What a cute idea! I love how you set it all up – you are so creative 🙂
xx, Alexa
http://www.brightcitybrunette.com
Great idea!!! Love that.
I am obsessed with this idea! Pinning this for future reference!
Love&Clothing
What an adorable idea! I think I see this in my future! love it!
xo
McKenna
stylewaltz.com
STOP IT!!!!!!!! This is seriously the best idea ever! I was totally planning on getting a cubicle storage thing to use as our tv stand in the bedroom, but was just going to get drawers, this is so much better! I want to display my shoes!!!!!!
This is amazing!! I have been wanting to do something like this for quite some time! Thanks for the inspiration!
Amazing!
Definitely bookmarking this post! So awesome!
I love it!
-Adrienne. xo
Citizen of the World
Citizen of the World
Check out my new online boutique!!
Wanderlust Boutique
This is so pretty, I love it! Thanks for sharing.
Emily
http://www.breezingthrough.com
This would be the perfect addition for my dorm room next year! Thanks for posting this, it is awesome!!
Wow so cute! The mirrors definitely make the space look larger and adds more color to the room!
http://itsjpei.wordpress.com/
This is chic and affordable! Love this idea! Thanks for the post! 🙂 especially since I'm not a huge DIY girl either. Lol
Xx,
Nidia
http://www.musingsofnidia.com
love this! i have one of these shelves in my office, and the mirrored back looks so much cuter! i might have to try it out 🙂
xo
Tara
shoesillneverhave.blogspot.com
I love this! I will have to try it!
Haley
haleyvalerie.com
Thanks for sharing! I'd love to do this for my place. I bet it felt so good to complete it yourself!
Amanda
XO Strawberry Chic
I love this DIY! I can't wait to give it a try! & I'm so in love with those Steve Madden heels! So cute!
Have a great week!
Lynn
http://www.midwestloveanddiamonds.blogspot.com
Love this post. Great talent, wonderful finished product. http://www.stylegonerogue.com
Love this DIY!
notjessfashion.com
I love it! And I love your decor!!
Great tutorial – turned out beautiful!
Liz @ ShoppingMyCloset.com
Style Me Wednesday blog link-up
Stop this is so so gorgeous!! Be proud of yourself!! Amazing work!
Martina XX
http://Www.martinasmark.blogspot.com
This is definitely a blog worth following. You’ve got a great deal to say about this subject, and you can also tell that by the huge number of comments!
used cubicles ft lauderdale
This comment has been removed by the author.