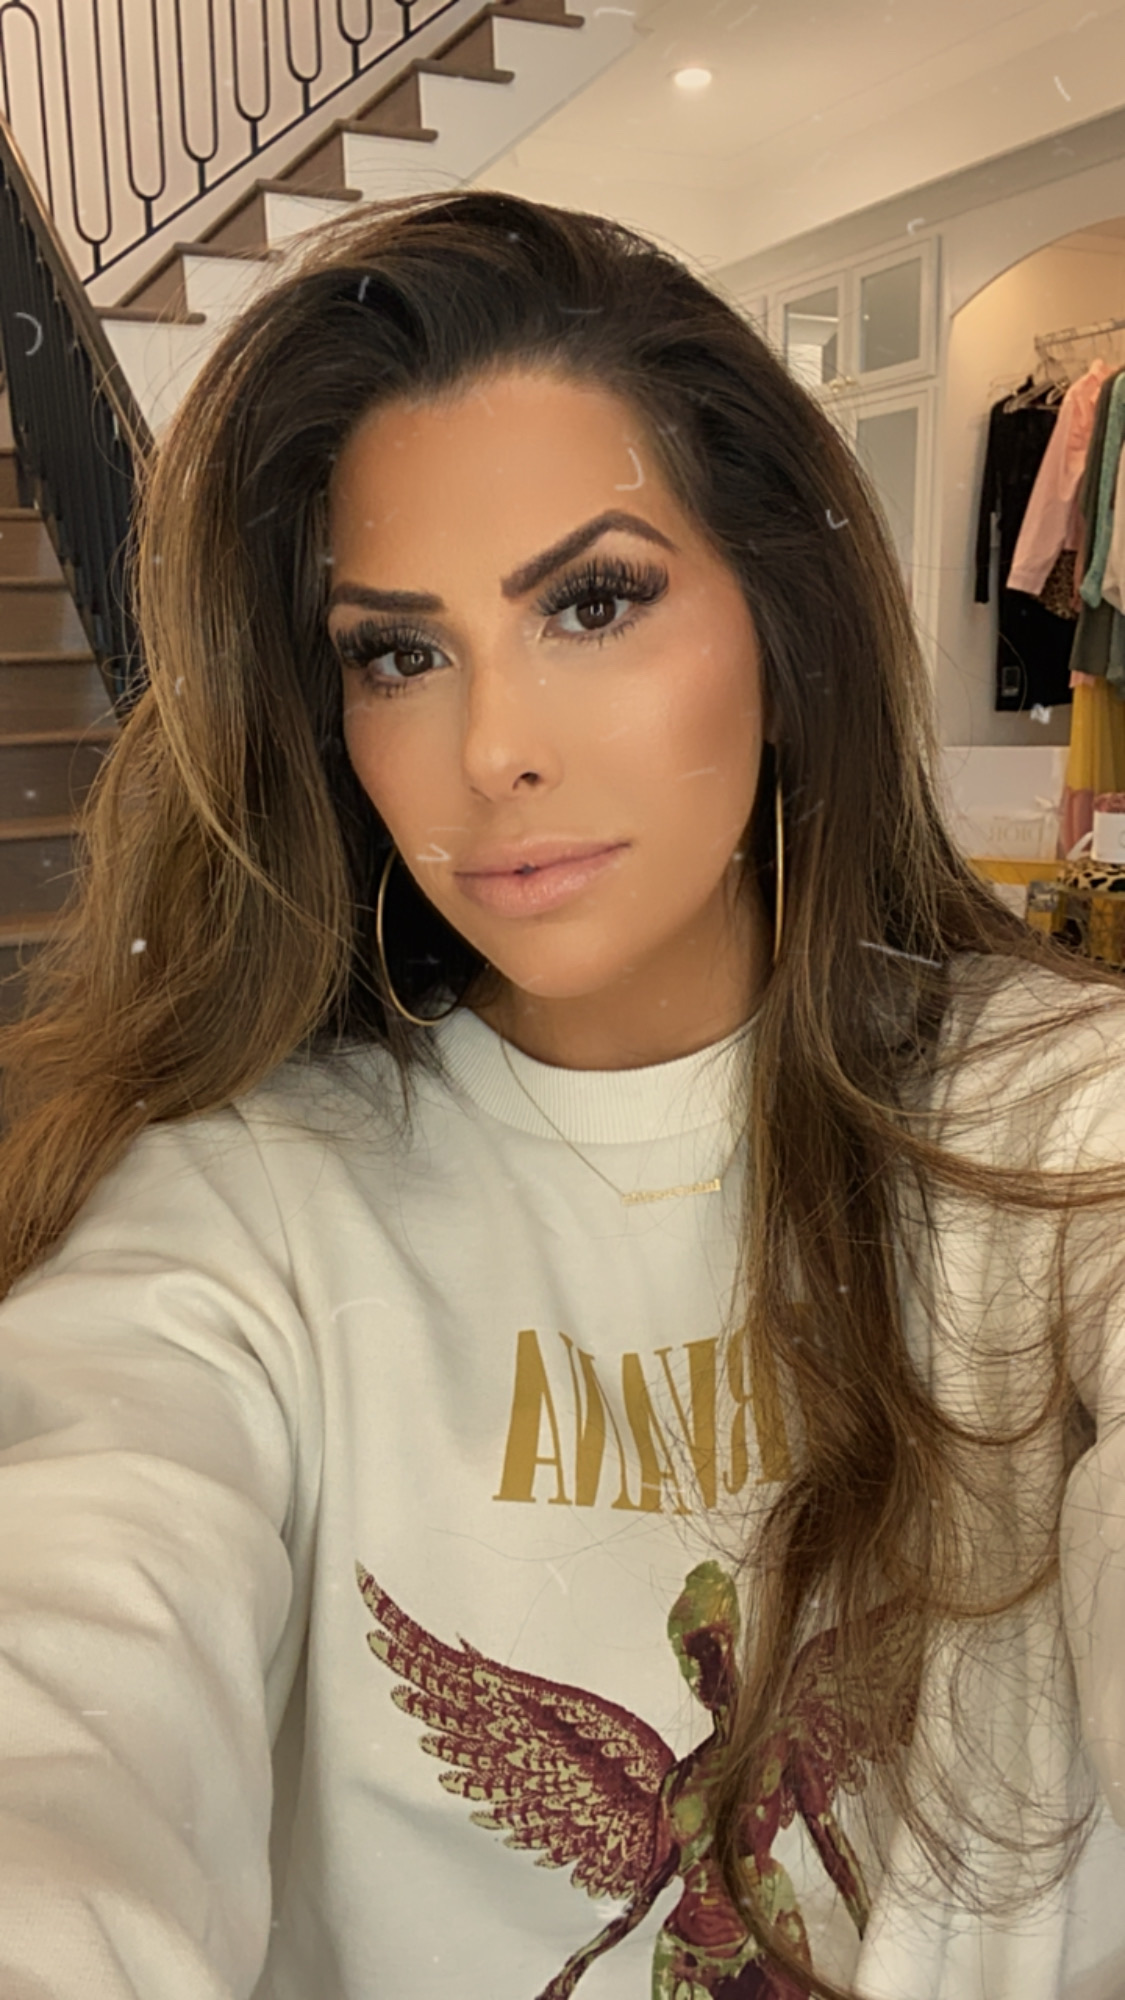
OUTFIT DETAILS
SWEATSHIRT | GOLD HOOP EARRINGS | NECKLACE
5-MINUTE MAKEUP ROUTINE
AHH! Adding this to my blog but I don’t have any good photos! I did this the other day and mentioned it on my IG stories so I thought I’d quickly post the steps and products used here on my blog! I’m typically a ‘go hard or go home’ style of girl with my makeup but lately just being on lockdown has made me want to play with lighter makeup since I’m basically in the house all day. LOL! This a quick & super simple routine that you can use if you are just staying around the house and wanting to still put on some makeup to make you feel good! 😊 I personally have gotten ready almost evert day during this COVID-19 quarantine because its just makes me feel a little bit more normal AND playing with and applying makeup is like therapy for me! Also, this will be great for “AQ” [‘After Quarantine’] as a daytime look, and then you can add other steps in to take it to nighttime! This is not full coverage or full contour but the goal is to have smooth, flawless skin. If you want more detailed routines, you can see my full skincare post HERE and my full makeup routine HERE.
HERE ARE THE STEPS I USE TO CREATE THIS LOOK:
#1. PRIMER || The very first thing I use is this Lilah B Aglow Priming Oil. It is almost more important when doing a light look because it gives you a really great base to help with the application of the foundation. The priming oil is especially good for dry skin, and won’t make you overly oily if your skin is oily to begin with! After that, I use the e.l.f. Poreless Primer – this has been a favorite for a while now, it really helps to fill in your pores if they large! These two primers have been my favorites for a while and I’ve talked about them a lot in my recent posts so make sure to read those if you want more info! [As always, I have to mention, good skincare is really the BEST way to prime your skin for flawless makeup application. I would never apply makeup without my skincare routine, you can read more about what I use HERE.]
*SIDENOTE: I have had a TON of questions about the HAIR CLIPS I use to keep my hair out of the way for makeup application! They are great for fly-aways and don’t leave a crease- its a good way to just keep hair out of your face after you’ve styled your hair! Plus, they’re super affordable too!*
#2. FOUNDATION || For this light look, I’m using this Sisley Paris Photo-Hydra Teint Tinted Moisturizer [Shade 2] that I love – but it is not cheap. You all know I typically wear a full coverage foundation but I’d been on the hunt for a tinted moisturizer a couple of months ago and had no luck. While in Dallas for work, I was stopped by an employee at the Sisley counter & they showed me this tinted moisturizer. They knew I loved their Instant Blur Powder so they said this was the same concept but in liquid. I ended up giving it a go and LOVE it for light makeup days. It is not full coverage but it covers just enough and leaves a smooth, powerless base. I usually use a sponge when using my regular foundation, but when using a tinted moisturizer like this one it is better to use a brush because a sponge will soak up the product. My favorite brush for this type of application is the Smashbox Blurring Foundation Brush.*When using a sponge, I use Tarte’s beauty sponge & absolutely swear by it – its hands down the best. I’ve ordered back ups of it because I don’t want to be without it! [Use code: EMILY for 15% off their entire website.] afterwards to smooth it all out.
#3. CONCEALER || One thing I NEVER skip is the concealer under my eyes- this a game changer effect- it really helps to look brighter and more awake [which if you are mom like me you need a lot of help with, lol.] So I usually dab a bit of this Charlotte Tilbury Magic Vanish! Color Corrector [Shade: Medium] directly under my eyes before applying the main concealer. [Quick Note: For the light look you can skip this step if you feel you don’t need it- its totally up to you!] Then I do quick swipe of this Dior Forever Skin Correct Concealer [Shade: 1N] under my eyes, and use Tarte’s beauty sponge again to spread it out on top of my cheekbones and make sure to cover some of my melasma spots [or acne spots if you need it]. The concealer step is huge in my opinion – mainly if you have scarring, dark circles, acne, hyperpigmentation, etc. This particular look is to be quick & easy but the concealer step is your chance to cover any big ‘flaws’. For myself, I depend on this step to cover my under eye circles and brighten them. Again, you will want a dampened beauty sponge for this step – concealer is thick and needs to be thoroughly blended.
Next up, I use the Tarte Shape Tape Glow Wand & this step is optional but it is also a magical step in my opinion. You absolutely do not have to do this step BUT I have it in my concealer drawer and it is a really innovative product. It’s technically a highlighter + concealer in one. You can use it as a highlighter on your cheekbones but you can also use it to conceal or brighten. Tarte actually markets it as “an instant eyelet in a bottle” which I think is a really great way to describe it. It has multiple uses but the formula is made to brighten, radiate, and smooth. I am wearing shade ‘Dream’ & I do have a 15% discount code you all can use on your entire purchase: EMILY. This is really good if you are wanting a glowy look, like say you’re just doing this to go to the pool or the beach and want to look decent, this is AMAZING for that as well. Its nothing crazy – I hate to even call it a highlighter because its not straight glitter but its a brightening, radiating product. You can put it under your eyes, on your cheeks, nose and top of the forehead. [Make sure to check out my Instagram story videos TODAY to see more about how I apply it!]
After that, I set the under eye area with THIS SETTING POWDER [Shade 1]. I apply the powder with that same dampened beauty sponge and later just sweep it off with a small powder brush! Then I use a puff to set it– I recommend THIS one or THIS one – the one I am using is out of stock. Just want to make a note that I get asked in all of my videos why I use a ‘puff’ and honestly – its a must for me. If I tried to do my makeup without a puff, I think I’d cry. I use that and a beauty sponge throughout my entire makeup routine and its a total game changer for smoothing out your skin and giving a more flawless look.
#4. EYESHADOW || Okay so I’m just going to use a tan bronzy shade from THIS PALETTE [‘Nude Medium’] and sweep it across the crease of my eyelids with a brush like THIS one- that’s literally all!! It just gives a little depth and dimension to your eyelid. Some people like to have a brighter lid, so if you prefer that you can use your highlighter!
#5. POWDER || **This step is not necessary, but this product is on sale and is AMAZING!** Honestly if you just used your concealer and this It Cosmetics Celebration Powder Foundation, that would be all you need- just stamp it all over! [Shade: ‘Medium Tan’]. Powder is not for everyone but if you’re a powder person I definitely recommend this one, it is an all-in-one product & is so stinking easy tp use. I highly, highly recommend it. I did a video on my stories last Monday using it and the feedback was insane. It is a full coverage, HYDRATING & anti-aging foundation, like woah! You can use it alone and its super, super easy & user friendly. It is also buildable so its nothing heavy or powdery – but you can set your tinted moisturizer with this and head out the door looking much more put together.
#6. BRONZER || Next is the bronzer. I just use a light bronzer, today’s is from a palette by Il Makiage [shade Waka Waka is my favorite] but I also love this Laura Mercier Bronzer , and just sweep it on my cheekbones and forehead with THIS brush, nothing crazy just giving myself a bit of a tan!
#7. BLUSH || Add a little bit of blush! It can be anything you have laying around, but I’m using this Kylie Cosmetics Blush [Shade: ‘Baddie On The Block’]. Just brush it on your cheeks and then you’re done!
#8. BROWS || I use ABH Powder [shade ‘Soft Brown’] to fill in my brows just a little. I like an arched brow, I feel like it makes it look a little bit better.
#9. HIGHLIGHTER || If you like the glowy look, adding a highlighter like this Benefit Cosmetics Cookie Highlighter will make a difference! Putting this on your nose will help give you a little bit of a contoured look without going through the whole process.
#10. MASCARA || I add a little bit of this Gucci Mascara L’Obscur to my bottom lashes and then I sweep the top just a little bit to get the powder off [I usually wear lash extensions so I don’t need it on the top- if you have natural lashes you can definitely put on more layers!!]
#11. LIPS || For a light makeup look, I LOVE this Sisley Phyto-Lip Twist Tinted Lip Balm [Shade: 1] and then on top of that I use this Natasha Denona Lip Oh Phoria [Shade: NUDE] moisturizing gloss. It has a nude tint so it makes your top lip look fuller!
#12. SETTING SPRAY | |One thing I think is important is to always set your makeup. The key here is to make sure that you have a smooth base, like your foundation looks good and smooth – that is the main focus with lightweight makeup looks. I don’t use a lot when I do a quick look or when I’m in a hurry so that it doesn’t take too long to dry but I swear by Morphe’s Setting Spray – it is what I go through the fastest. I use this FAN to help it dry faster!
#13. BLUR POWDER || I swear by this finishing powder. It is literally like bronzer, blush, and powder but it really brings it all together. Again, you don’t necessarily need this step but you can add it in if it works for you! This powder is a big step for me because it total blurs out pores. It is pricy but I can assure you, its a game changer! I just use my puff and pat the powder in – if I skip this step, my skin does not look as smooth.
I have a lot of different brushes that I use and have gotten used to, but all you need are a few basics. I like THIS set and THIS set- they have all that you need for this simple look!
ALSO!!! If you are going to be in the sun ☀️ you can just do a tinted moisturizer, blush, and then set it with a powder. This Tarte Set & Protect Mineral Sunscreen Powder Broad Spectrum SPF 30 is AMAZING and easy to use- something you can keep in your car or handbag too! Just a heads up that code EMILY works on the entire Tarte website! I DEFINITELY recommend having an SPF on at all times in the sun to protect your skin from sun damage and wrinkles!
Like I said above, makeup can be totally personal, so finding the right combination of things for YOU is the most important! You can play around with some of the different additions I talked about above and see what you like best! And then once you get used to it, it shouldn’t take you any longer than 5 MINUTES to complete your look!

What does your current 5 minute makeup routine look like? Let me know in a comment below!

Absolutely Gorgeous! Love these makeup posts!! Your sweatshirt is Super cute too! Happy Sunday!! 🌸💛💕
Hi Emily! Have you tRieD the il makiage bronzer in the shade ‘ touch me’(golden Pink bronze)? IF yes, which shade do you prEfer? so many bronzers look orangy on me (eg mac give Me sun). It has swirls of pink. 💕Andrea (from BosTon)
I just to say that i love your eyelashes!! What type of eyelaShes do you weAr? And where can I get them?
Hi! I made sure to include that in this post but in my other makeup tutorial posts I also include what lashes I have on!
I loved this post . Im ordering the lip balm .
I loved this post! Your 5 mins makeup routine is awesome! I still need to try Kylie’s blushes! 🙂
Do you use the blurring powder agtwr the spray?
yes! 🙂
Still takes me longer than you To get this lol about 15 minutes for me but i love this on my lighter makeup days 😍 awwys come back to this post for your steps, thanks emily 😊