
Since fall is right around the corner, I thought I’d share this easy, step-by-step tutorial on how I do a glam smoky eye. Keep in mind I am not a makeup artist, this is just how I do it & it is super easy – we all like easy, right?! The look I am going for is warm, yet glittery glam. Nothing too crazy, but will look good with your fall outfits!
I’m actually teaming up with Sephora Collection for this post. I really like Sephora Collection because the price point is very affordable & there are TONS of options. You’ll notice that there are so many color options for eye shadows but there are also tons of brushes that are perfect for application as well.
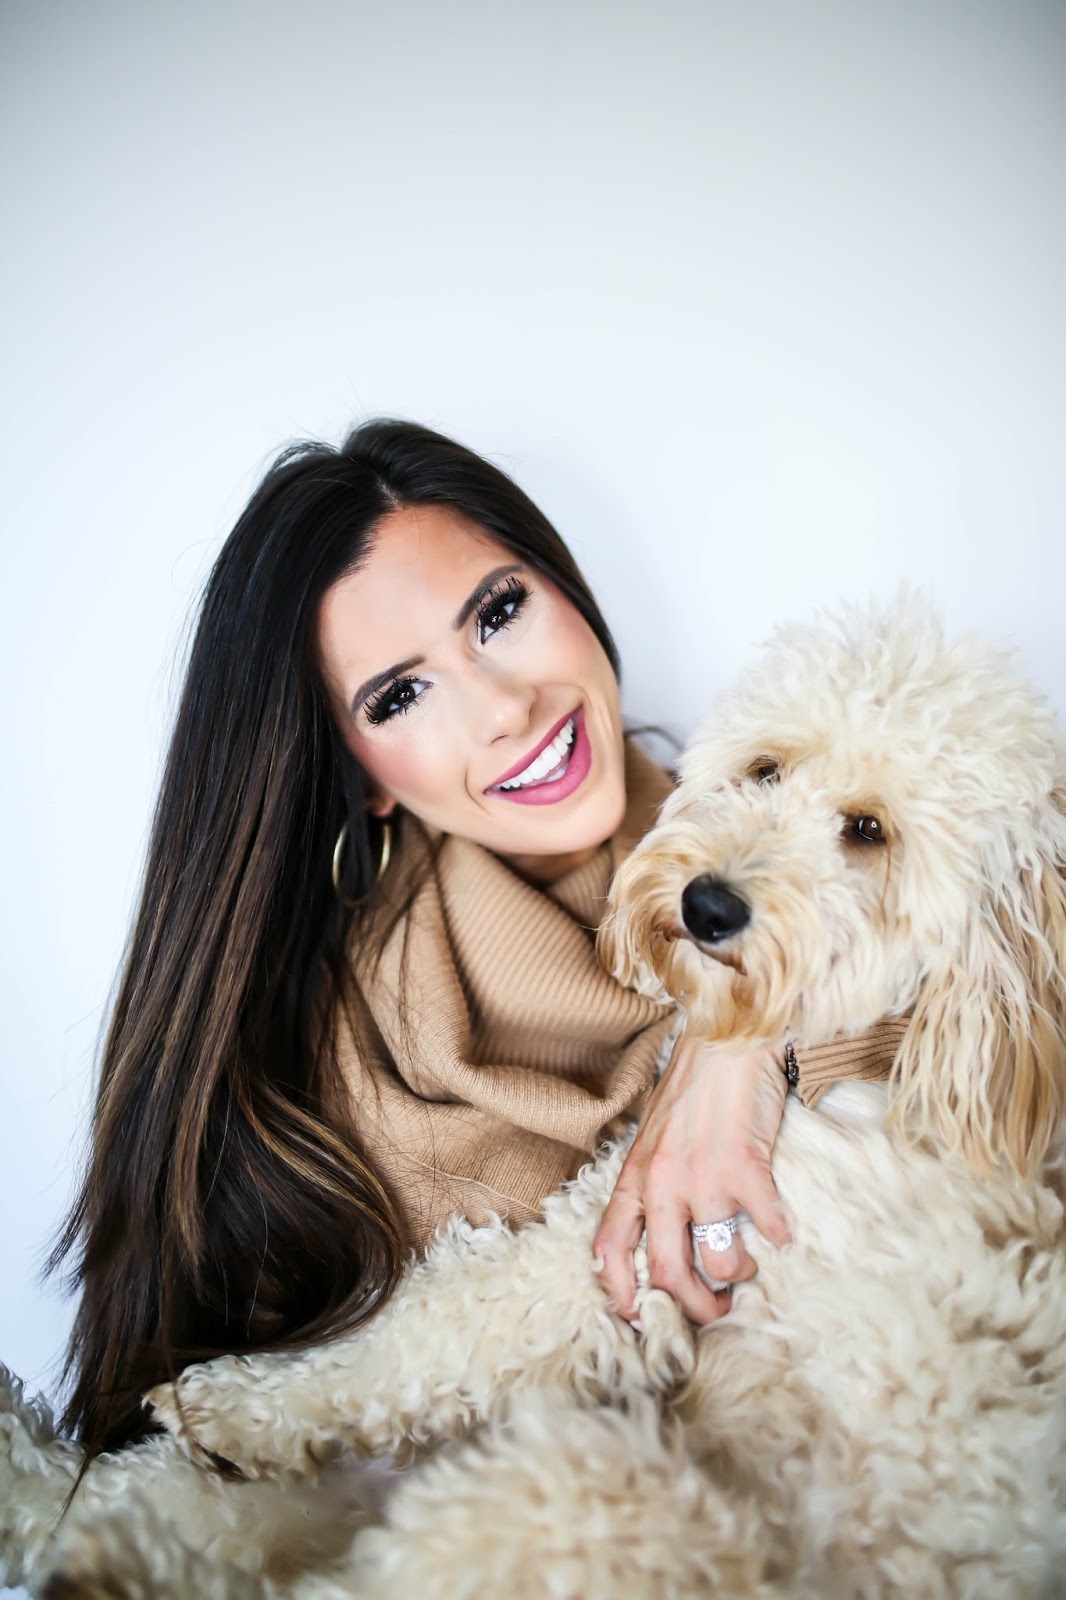
Let’s get started..
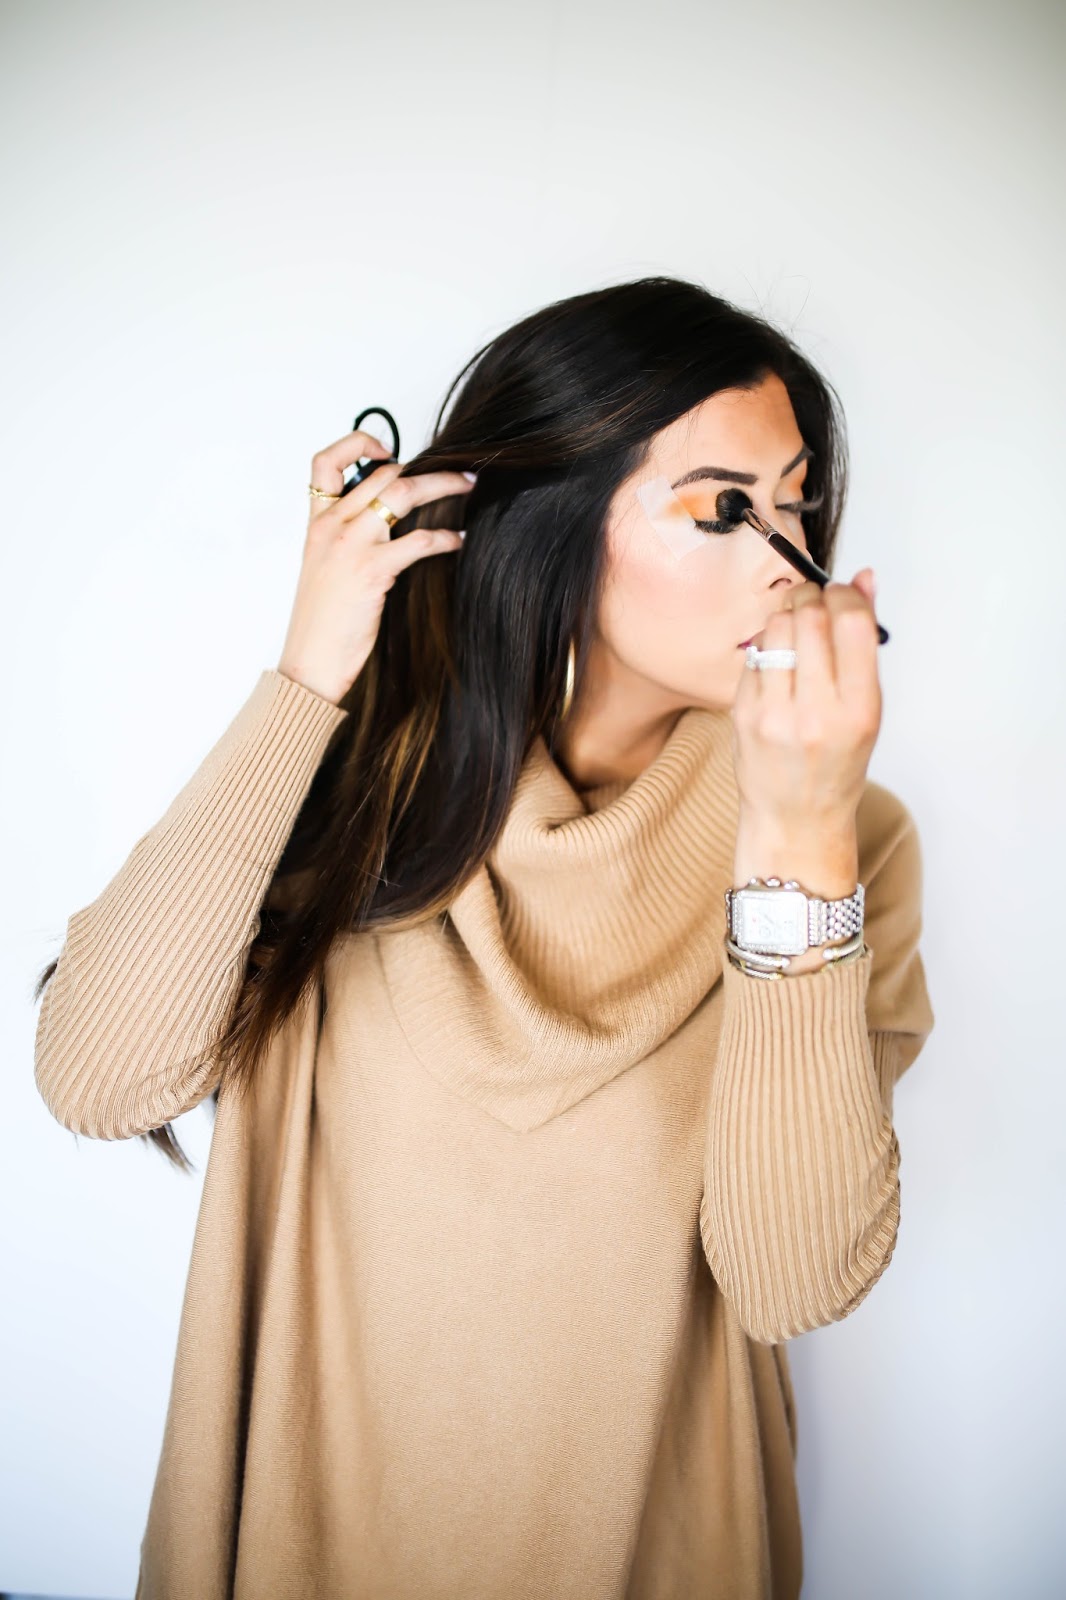
1. As always, I apply some Scotch tape to the corners of my eyes (watch the video on the sidebar if you want to see that in more details!) & then I use my fluffy blending brush to apply the shade ‘Mango Shake’ from Sephora Collection’s Colorful Eyeshadow line ($10). The orange shade may look a little intimidating in the packaging, but with this fluffy brush it will be applied lightly and won’t look cray cray, promise! I apply this with light, windshield wiper motions through the crease. This is called the ‘transition’ shade.

2. Next, I use my small tapered blending brush to apply ‘Hollywood Calling’ from Sephora Collection into the very corners of the crease. Now, this brush is smaller than the first brush so that when you apply the product it is more concentrated – since this shade is a dark brown, you want to make sure you only place it in the corners of the crease. This step just gives dimension to your eyelid and helps create the smoky look we are going for in this tutorial.
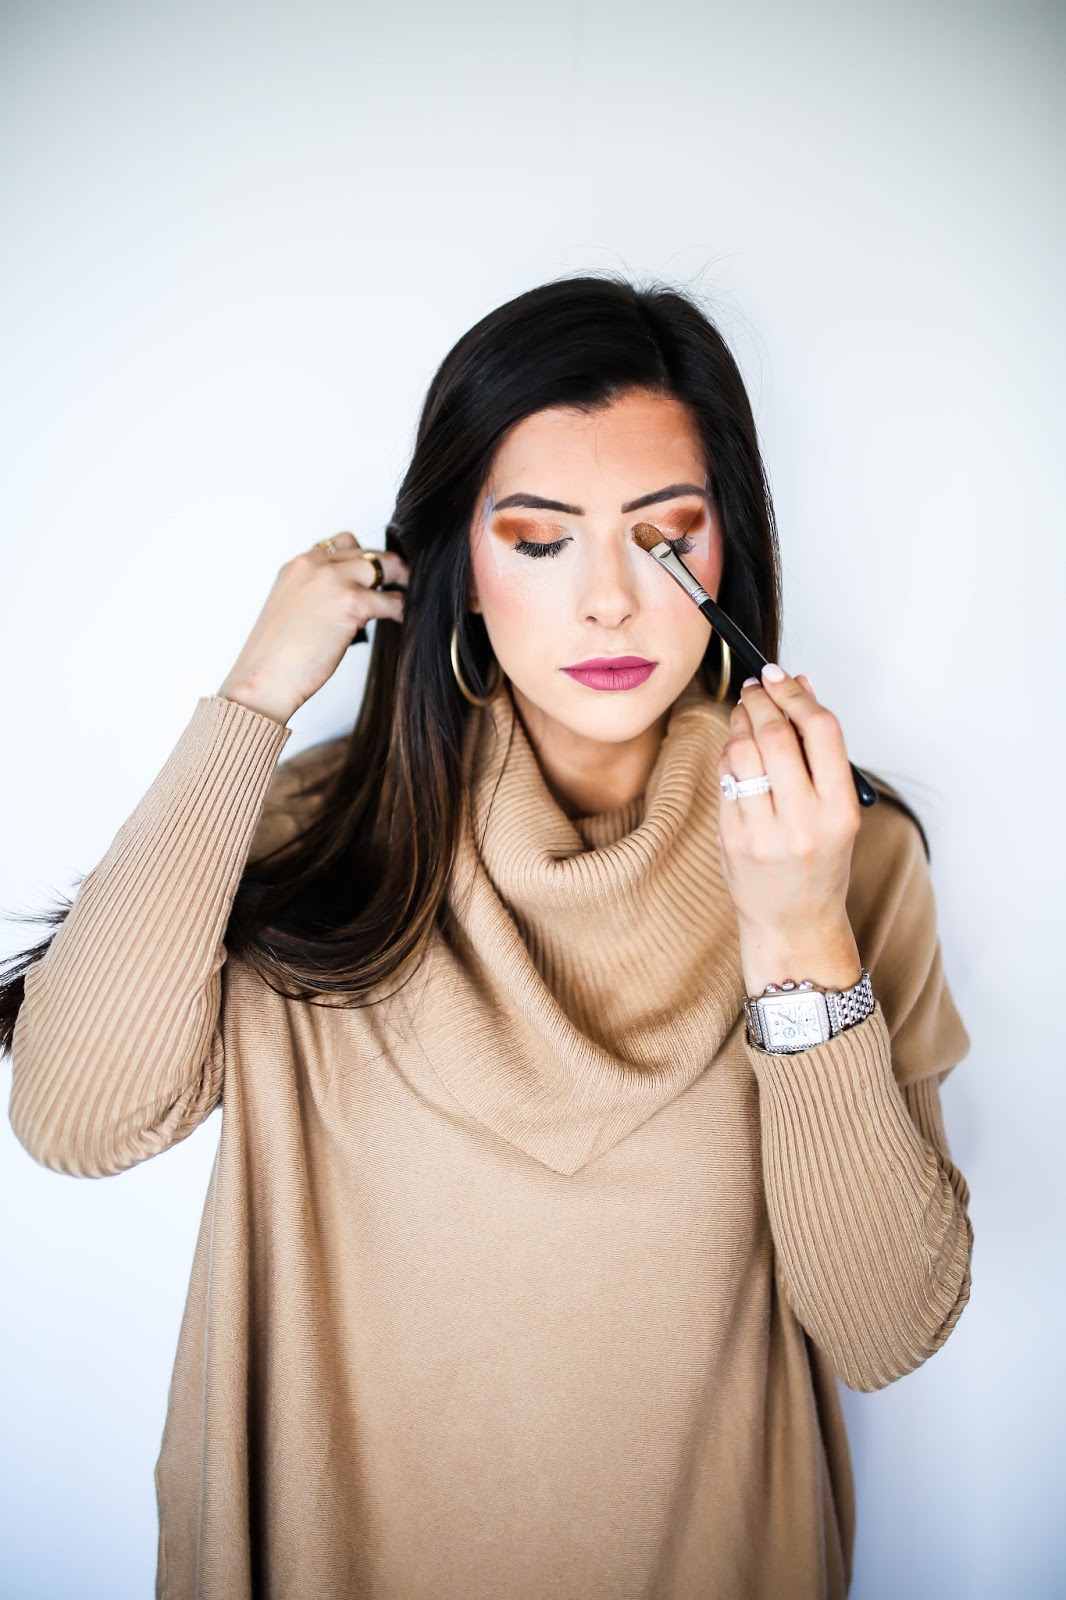
3. Now this is always my favorite step – the glitter! I sprayed my large shader brush w/a setting spray to get it damp so that this glitter shade (‘Lucky Penny’ from Sephora Collection) would be more dramatic & metallic. I gently pat this shade all across my lid. I had to do a couple of layers to make it really pop!
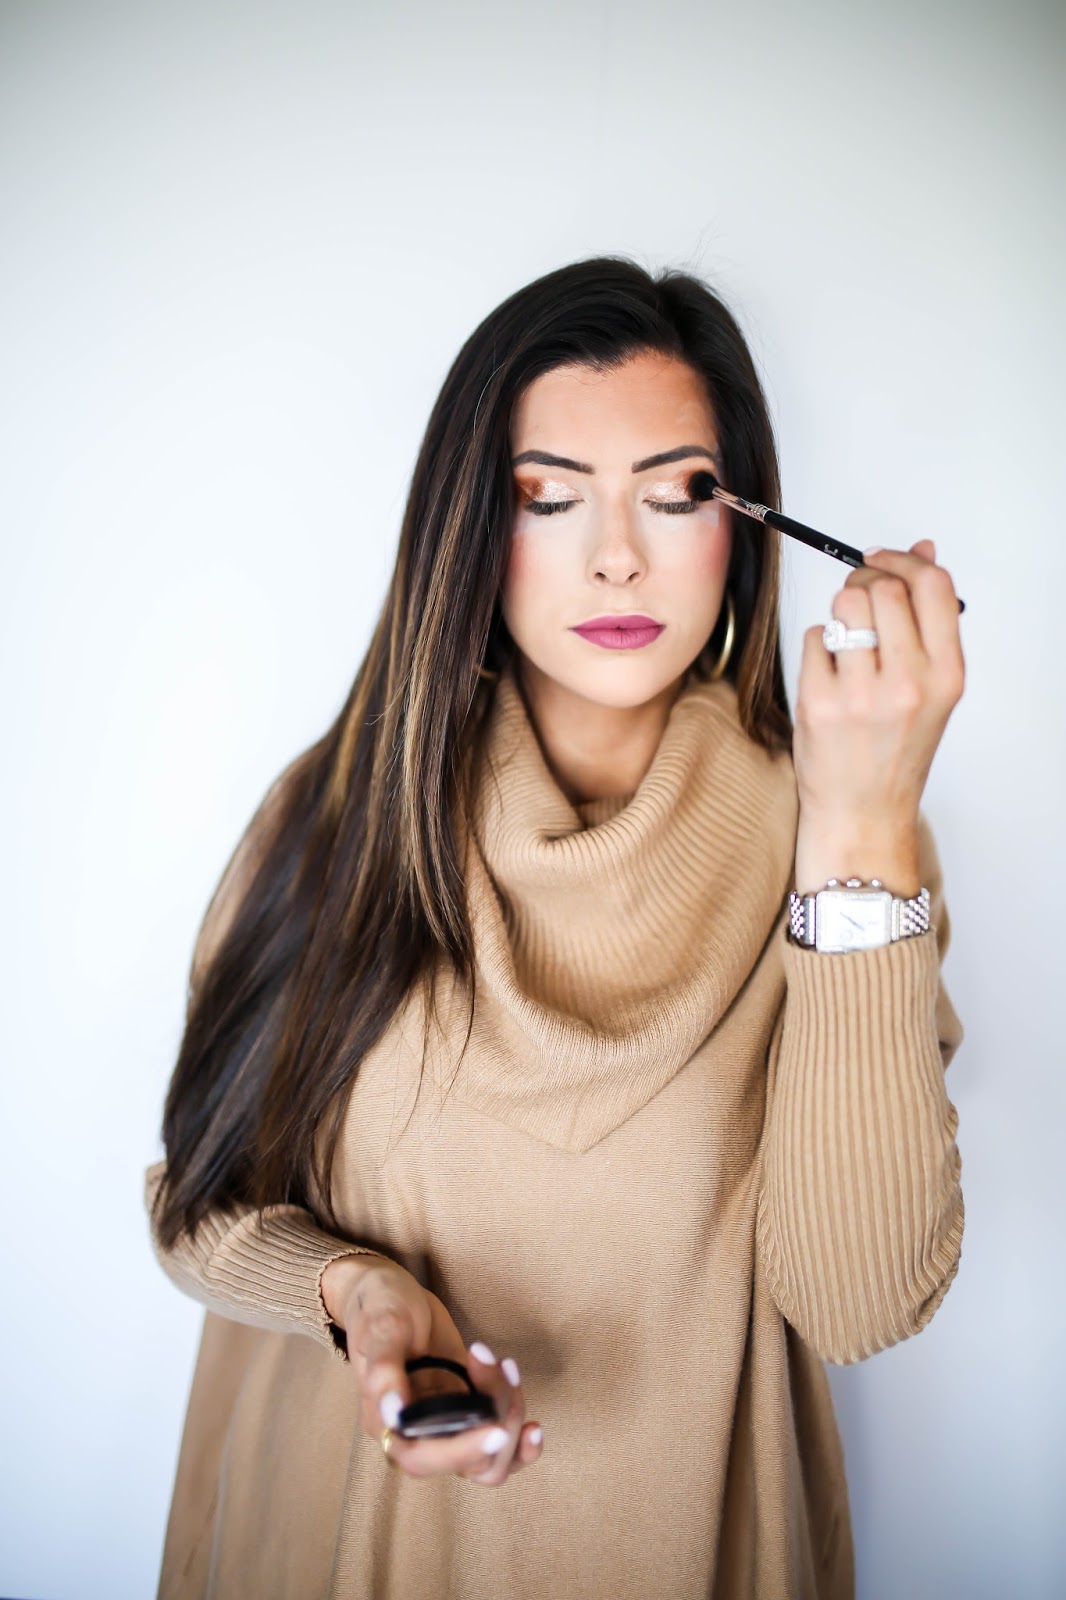
4. Lastly, you use that same brush from the first step to blend it all together… I only use this brush to sweep through the crease! This makes the dark brown, glitter shade, & orange blend & look more natural w/no harsh lines.
Not pictured, I applied ‘Early Frost’ from Sephora Collection to highlight my brow bone & my inner corner. This shade is a white, frosty shade that just ties the look together.
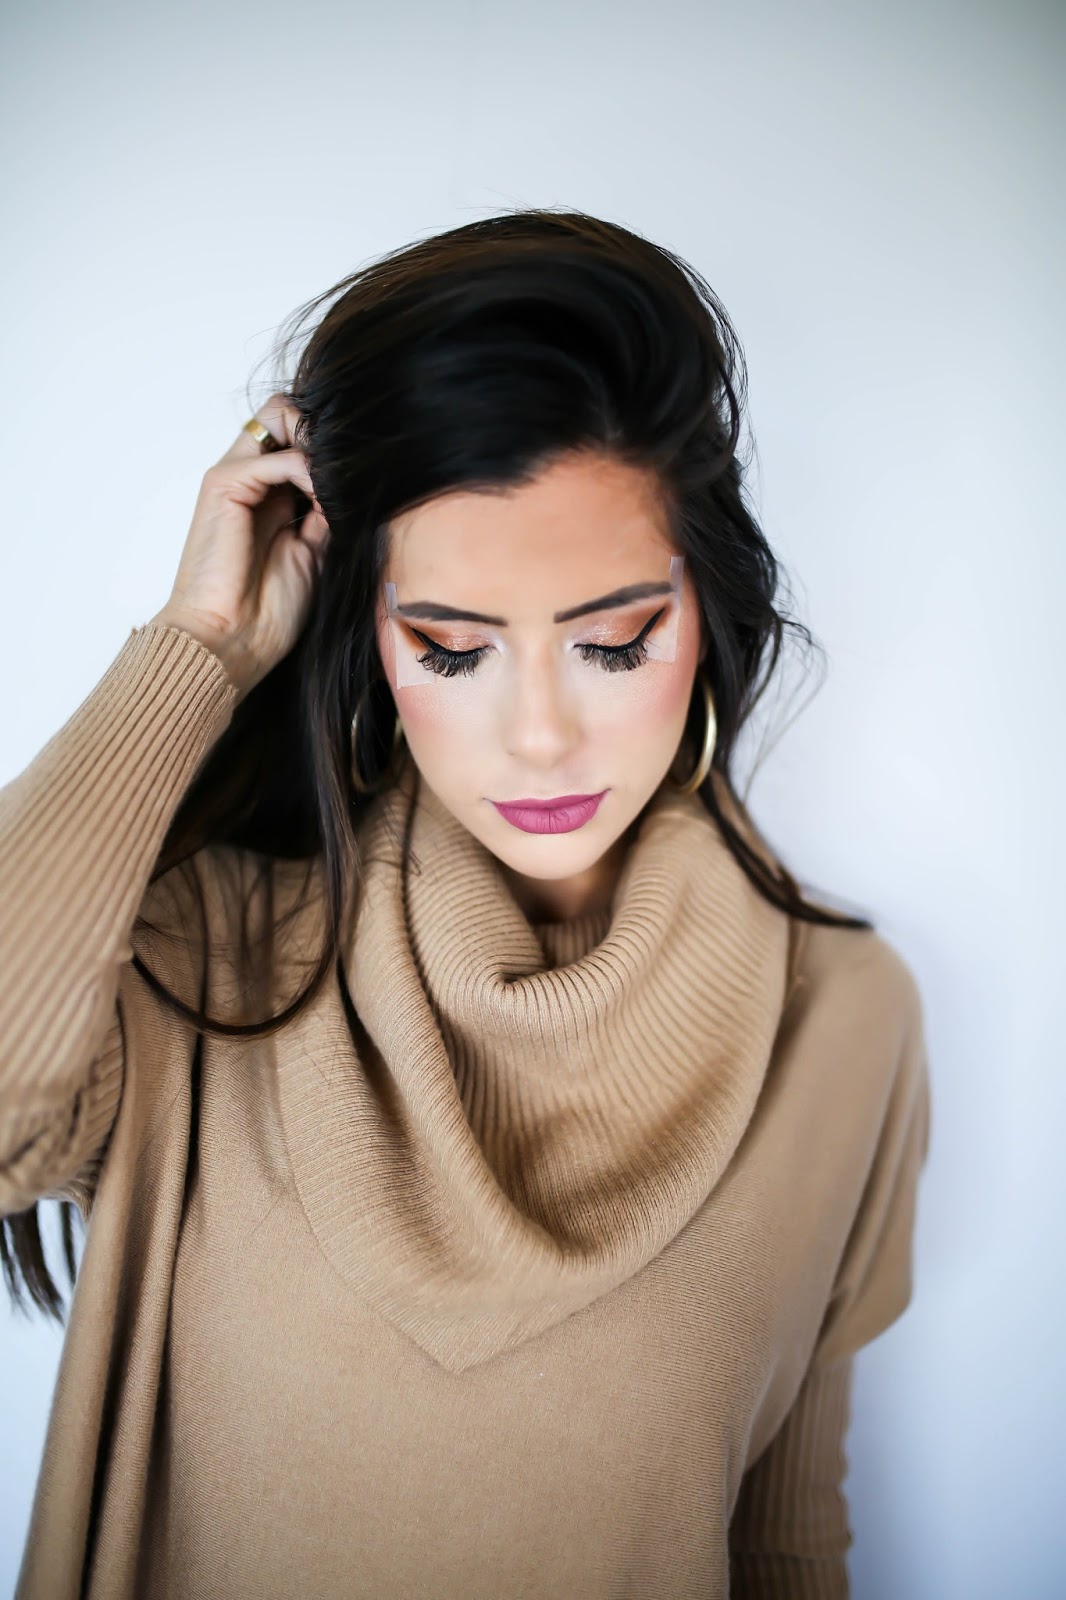
5. Now that the shadow application is done, I used Sephora Collection’s 12-Hour Wear Liquid Liner in black to line my upper lid & also to wing it out. Notice I still have the tape on as my ‘guide’ to a neat, straight wing. After this dries, I remove the tape & voila, its a perfect wing!

6. The last step: LASHES. If you are comfortable – apply false lashes! I really like the PLUSH Luxe False Lash from Sephora Collection. They are very plush (obviously) but they are more dramatic & full or you can do the Sephora Collection’s ‘Celebrity’ Lashes if you want to tone it down a bit! If you want to skip lashes – make sure you apply mascara because your lashes will help pull the entire look together!
The lip color I am wearing is Sephora Collection’s Cream Lip Stain in ‘Marvelous Mauve’ – #13.
I hope you all liked this post! If you’d like to see more like it- let me know!! <3 I’m burning the ‘Leaves’ candle in our house today so I’m really feeling like fall!
Thanks to Sephora Collection for sponsoring today’s post.

Gorgeous! I'll have to look up the lucky penny color, I love it on the lid.
xo, Nina
Law of Fashion Blog
LOVE the eye look! And your lippie! So perfect for fall!
http://www.rosyoutlookblog.com
Aww the last picture is so adorable!!! *_*
xo Vanessa from http://www.Trendique-Magazine.com
Such a pretty look! I need to get into wearing eye shadow more!
xoLauren
http://www.thelavenderskies.com
Stunning:P
Shall We Sasa
Your eye makeup looks so pretty! I love Sephora's lip stains. They are very long lasting and doesn't dry out my lips!
Polly
http://gemsandjoy.com
Aside from the gorgeous look, I love your jumper! Definitely suits the autumn season! x
http://www.flareaforte.com
Gorgeous tutorial, Emily!
Arum Lilea
I'm not a fan of wearing tons of eye makeup just because so much scares me, but it's not that bad after seeing your tutorial! I need to work my way up slowly, lol! That lipcolor is amazing and so perfect for fall! Thanks for the inspiration, Emily!
You picked natural color and your makeup is always fabulous! Love it!
http://fabuloustorture.blogspot.com
Gorgeous!
http://www.evdaily.blogspot.com
You are such a beauty that you always leave me speechless!
https://lartoffashion.com/visit-helsinki-yume-tastic/
I love this sweater, where is it from?
OMG! This makeup looks stunning on you!! Seriously, you can pull off a mauve lip like nobody's business. Love it Emily <3
xo, jess
alljessedup.com
GORGEOUS! I've always wondered how you get this amazing look on your eyes 😉 thanks for sharing!
http://www.toreystreasures.com
@toreystreasures
Gorgeous photos! That scotch tape trick is one I've heard of but have never tried! Think I'll have to try it out now though because it looks like a winner!
http://www.blushandbordeaux.com
Beautiful makeup. Thanks for the post! Where do I find your sweater? : )
Love this eye look! I also Sephora Collection's products! Such a great variety!
xoxo,
Amy
http://www.styleandsequins.com
@styleandsequins
you are such a Beauty
http://carrieslifestyle.com
The tape is such a good idea! <3
BlondieInTheCity.com
Where did you get your sweater? It is so fall! Love the color!
Lovely makeup!
Love,
http://www.thestyleventure.com
Love this glam look, your makeup is flawless!
Also, where is your sweater from? I love it!
xo, Caitlin
http://caitlincarol.com
Like the little black dress, the smoky eye is timelessly sexy. But too many women skip it altogether, because it seems too hard to create!Love to try once if possible 🙂
Anti aging sklin care Dermology
Your makeup is always so on point! Loving that lip color!
xo,
Laura
Styled Adventures
I love this outfit on you!!! Probably one of my favorites!
http://www.vidafashionista.com
Such a gorgeous look for Fall. Emily your makeup always looks flawless. You are definitely one of my favorite fashion bloggers by far. God bless :).
XO Ashley
http://www.homegrownelegance.com
This comment has been removed by the author.
I literally ordered everything in this makeup tutorial from Sephora. I have to be honest, I hate the lip stain ???? It's so messy! I went to our state fair today (which consisted me reapplying my lips numerous times after eating and drinking) and it is all over my face,hands and it settled super clumpy. I know that Sephora sponsored your post but, I would recommend YSL's stain or even Kylie'a lip kit line. ????
Kylie's